
Want to use SASS with NativeScript? Good news! You can, and it’s pretty easy to enable, but the necessary steps did change with the recent NativeScript 6.0 release.
With that in mind, let’s look at how to get up and running with SASS in NativeScript, and how to configure your SASS compilation to meet your needs.
Upgrading
First things first, if you have an existing NativeScript app that you’re migrating to NativeScript 6, the tns migrate command will take care of updating all your dependencies, including the SASS dependencies.
tns migrate
With that command your app is now migrated and ready to go. (Although you might still want to tweak your SASS configuration, which we’ll talk about momentarily.)
With migrated apps out of the way, let’s next look at how to set up SASS in new apps, and how you can configure exactly how your SASS compilation works.
New apps
Let’s suppose you create a new NativeScript app today with the tns create command.
tns create
The app you get will have a webpack.config.js file for webpack configuration, and in that file you’ll see the following chunk of SASS-related code.
{
    test: /\.scss$/,
    use: [
        { loader: "css-loader", options: { url: false } },
        "sass-loader"
    ]
},
Basically this means that, during compilation, webpack will send all .scss files through a tool called sass-loader, which will compile all your .scss files into .css files.
And because this configuration is already in place, to activate it all you need to do is install webpack’s sass-loader extension, and node-sass, which takes care of the actual SASS compilation.
npm install --save-dev node-sass sass-loader
After running the above command, you’re all set to use .scss files as part of your NativeScript development. When you execute tns build or tns run, the NativeScript CLI will send all your .scss files through webpack, which will send those same files through sass-loader, which will use node-sass to compile your .scss files into CSS for your built app.
One fun note: you won’t actually see generated .css files in your app at all, not even in your platforms folder. One of the reasons NativeScript uses webpack is to reduce the number of files your apps use, so that your apps start up as fast as possible.
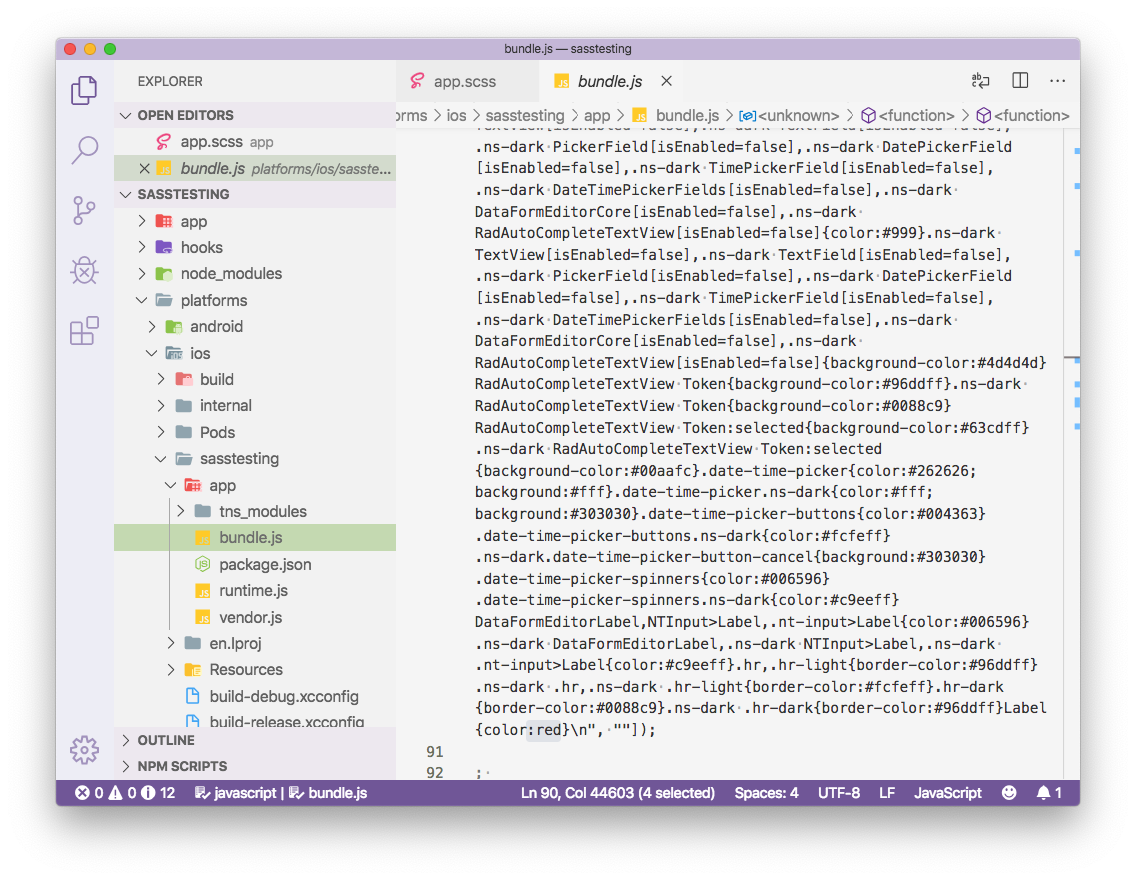
If you want to track down the generated CSS for debugging it’ll be in a bundle.js file in your platforms/android and platforms/ios folders.
At this point you now have everything you need to use SASS in NativeScript, but before we wrap up let’s look at one last change you might want to consider.
node-sass vs. dart-sass
There are two popular ways to compile SASS using webpack. The first is node-sass, which we looked at in the previous section, and which NativeScript apps are configured to use by default.
Under the hood node-sass uses libsass, which uses a C/C++ module to compile your SASS code. C/C++ is pretty fast at compiling SASS, but it comes with a catch that you might care about: if you update your Node installation, you’ll need to rebuild your node_modules folder for the C/C++ compilation to continue working. (And you often don’t get a helpful error that tells you exactly what the problem is.)
With that in mind, the other option for compiling SASS with webpack is dart-sass (which is actually just sass on npm now), which is a SASS compiler that uses Dart-compiled JavaScript, and therefore doesn’t have the same recompilation requirements as node-sass. Both the Angular and Vue.js CLIs have recently switched to dart-sass, so it seems to be the direction the JavaScript community is heading.
There are internet debates over whether dart-sass or node-sass are faster, but unless your app has a ton of SASS code it’s probably not something you’ll notice.
NOTE: There are a handful of syntactical differences between
node-sassanddart-sass, which you might hit if you’re making the switch and you have existing SASS code.
If you do want to switch your NativeScript app to use dart-sass you need to first install it from npm.
npm install --save-dev sass
Next, add an options object to your .scss configuration in your webpack.config.js file that tells sass-loader to use dart-sass. (Remembering that dart-sass is just sass on npm now.) The whole section should now look like this.
{
    test: /\.scss$/,
    use: [
        {
            loader: "css-loader",
            options: {
                url: false
            }
        },
        {
            loader: "sass-loader",
            options: {
                implementation: require("sass")
            }
        }
    ]
}
NOTE: If you’re upgrading an older app you might need to update your
sass-loaderdependency, as you need version 7.1.0+ for theimplementationoption to work.
And with that, you’re all set to use dart-sass to compile your the SASS files in your NativeScript app.
Wrapping up
As you can see, SASS is now really easy to use as part of your NativeScript app development, regardless of whether you prefer node-sass or dart-sass. If you have any questions about using SASS in NativeScript feel free to reach out in the comments.